This is a guide on how to properly install your wall mounted Lattice products (Micros, Triple Rung, Triple Twins, Campus Rungs). There are obviously a lot of different ways you can go about mounting your product so the options mentioned below are not definitive and it is up to you to ensure the product is mounted securely before you use it. If you are unsure on how to securely mount your product please seek professional guidance from a suitably experienced builder or similar.
Important note: Our wall mounted products (Micros, Campus Rungs and Triple Rung / Twin) have NOT been designed to be used as portable products. They should only be used when mounted to a secure and stable surface.
Step 1: Location
The most important part of installing your product is choosing an appropriate indoor location as these products are not designed for outdoor use. It’s essential you attach it to a secure structure that can support the loads you will be putting through it as the last thing you want is for it to detach during use!
Common options include mounting above a doorway, a roof beam in an attic or mounting to a detachable pull up bar. Bear in mind that the load on the product can be high, especially if you are doing weighted fingerboarding or explosive pull up sessions, so be sure to factor this in.
If you have a few options for locations that’ll be strong enough to support the product (with you + the max weight you’ll be hanging off it!) then the next thing to consider is ergonomics. It should be mounted at a height where you can comfortably reach it with straight arms raised above your head, preferably with some room either side and above so that your elbows are not touching anything and you can perform a pull up whilst using the product. If you will be hanging with one hand, consider the position you’ll be in for this as it will be different to a two armed hang.
Lastly, you may also want to consider options for mounting a pulley underneath the product so you can use assistance when needed e.g. if you’re training a weaker grip type.
Key location considerations:
- Choose a secure structure in a safe location
You must use your own judgement on the location of the mount. Do NOT mount onto weaker structures such as plasterboard alone as it is not strong enough to support our products when loaded. Seek professional advice from a builder if you are unsure about the structural integrity of your chosen mounting location. Also seek professional advice if you are unsure about drilling in the vicinity of potential power lines. - Surface
Ensure that the surface you are mounting the product on is completely flat. If the surface is excessively bent, warped, or uneven, you risk permanently damaging the product when you attach it, potentially rendering it unusable.
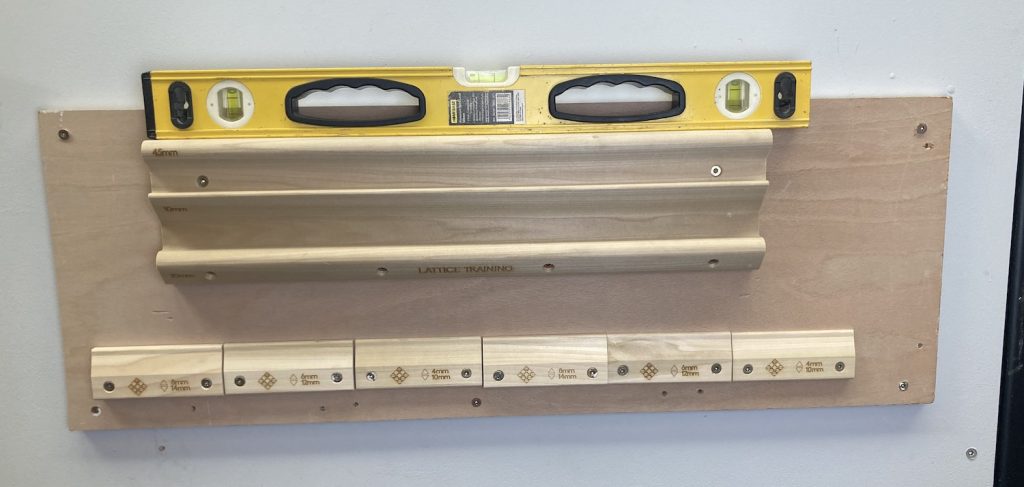
Step 2: Fixings
The hardware you’ll need for mounting your product will depend on what you are attaching it to. It is your responsibility to ensure that your mounting hardware is adequate for the material you are using to mount your product.
If you are attaching the product to something other than wood you may need to consult a professional for further guidance as building materials will vary greatly in strength and structural integrity.
If you are attaching the product to an internal wall (i.e. studwork with plasterboard on top) then we recommend mounting a rectangle of 18mm plywood to the studwork and then attaching the products to the plywood.
You MUST make sure that the entire back surface of the product is in contact with a solid surface, whether this is a wall, wooden board or a beam. No part of the back surface must overhang as this may cause uneven stress across the wood which could lead to the product breaking.
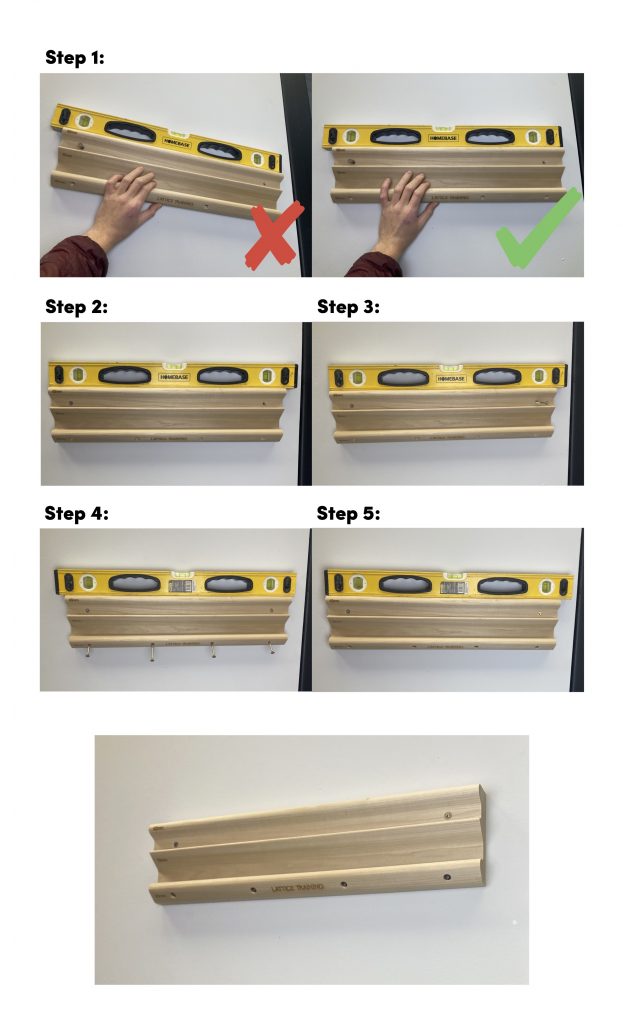
Step 3: Mounting
Check For Damage First!
Before mounting your product, check it for damage such as warping, chips, or cracks. While we inspect every product before it is sent out, climatic changes during transit can cause cracks or other damage to appear.
Mounting
When mounting your product, ensure that it is positioned level. We recommend attaching using a single screw (minimum 5mm DIA, length will be dictated by the material you are mounting onto), getting it level and then fixing it in place with a second screw. Double check the level before fully fastening the remaining screws.
You must attach the products by using all of the screw holes on the product.