The Build | A Home Training Set-Up
When Dave Finch got in touch to enquire about a Lattice Board for a home setup that would become a community hub in a quiet corner of Arizona, we were excited to see what he would come up with! In this blogpost, Dave talks us through the motive, build and use behind his new Lattice Board garage set-up.
The Motive
After living in both Salt Lake City, Utah, and Flagstaff, Arizona, we have never suffered with lack of choices when it came to climbing options. Both locations have abundant indoor and outdoor opportunities and the peer group in both locations serves only to propel a sense of fitness, health, and unlimited youthfulness. Then we moved to rural Verde Valley, Arizona where the rock (where you can find it) is crumbly and covered in cactus. The nearest climbing areas require more time and commitment to get to the crag and back than is spent on the sharp end of a rope. That being said, we know we are better off than many who must spend weekends making pilgrimages to far off areas in order to see a contour in the land. But we have been spoiled and miss our plethora of options.
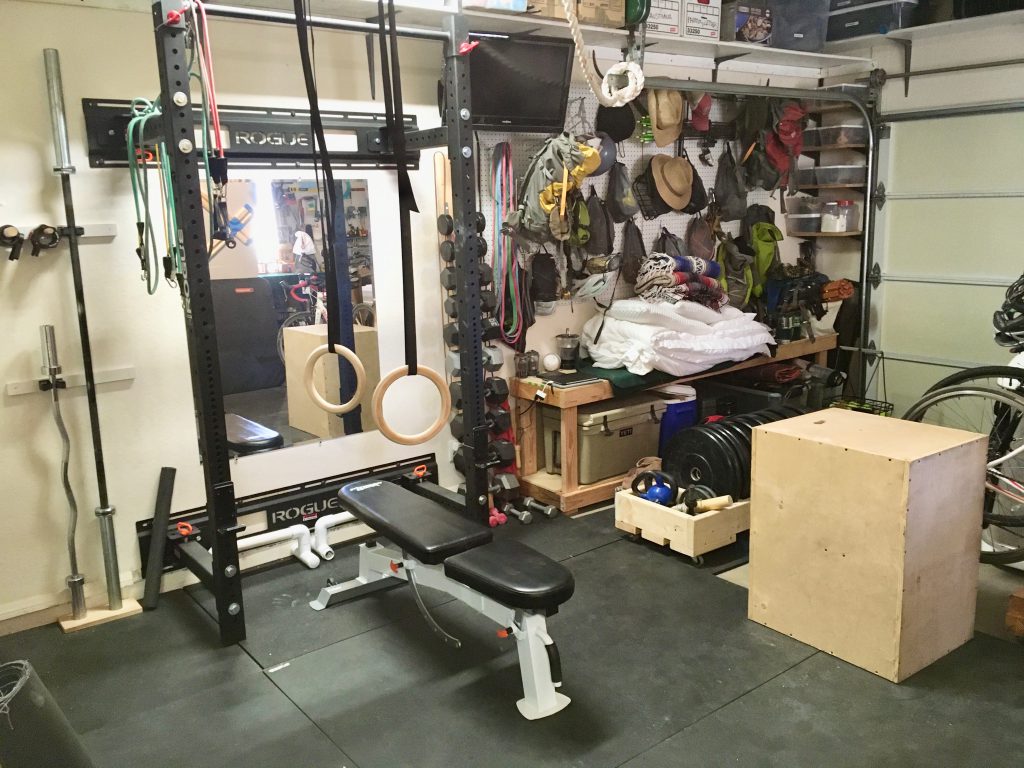
My wife and I are trying to hold on to our climbing shape, but with a new locale, new work schedules, and an increased recovery period brought on by ageing, it’s a battle when your only options are one weekend day a week – or less – to find rock or plastic to grab. I make a garage gym a priority with each new move we make and have built up a respectable setup. (see photo below). It keeps me in shape but doesn’t address climbing specific strengths – nor does my wife enjoy regimented weights so it doesn’t help her. Then came a YouTube video.
We’d looked at possibilities ranging from renting a commercial space and opening up a climbing gym, all the way to converting our garage to a climbing wall in some form. Having spent 12 or so years route setting at various climbing gyms, I feared that building a regular climbing wall would lead to setter’s fatigue and the creativity and fun would disappear with each turn of the wrenches. Plus there’s the wear and tear on bolts, holds, and t-nuts with constant tightening and loosening. Then you have to wash the holds, which get chalked or shoe-blackened… Not the fun or aesthetic either of us wanted. Then YouTube brought us a new, novel option: Building a Lattice Board.
It’s standardized, set in place, and attractive to look at. We could have the discipline and boundaries of a regimented training apparatus, plus the freedom to tape our own problems and invent sequences that fit our styles and projects. We didn’t have any available wall space since my weight setup is wall-mounted, plus we have climbing/outdoor gear, utilities like a washer/dryer, plus all my woodworking tools and workbench surrounding the garage. Plus, we didn’t want to lose the valuable space that would be sealed in the tomb behind the wall if it were wall-mounted. What we came up with was a free-standing (sort of) wall that allowed for both storage behind and made use of the space we were willing to give up.
The Build
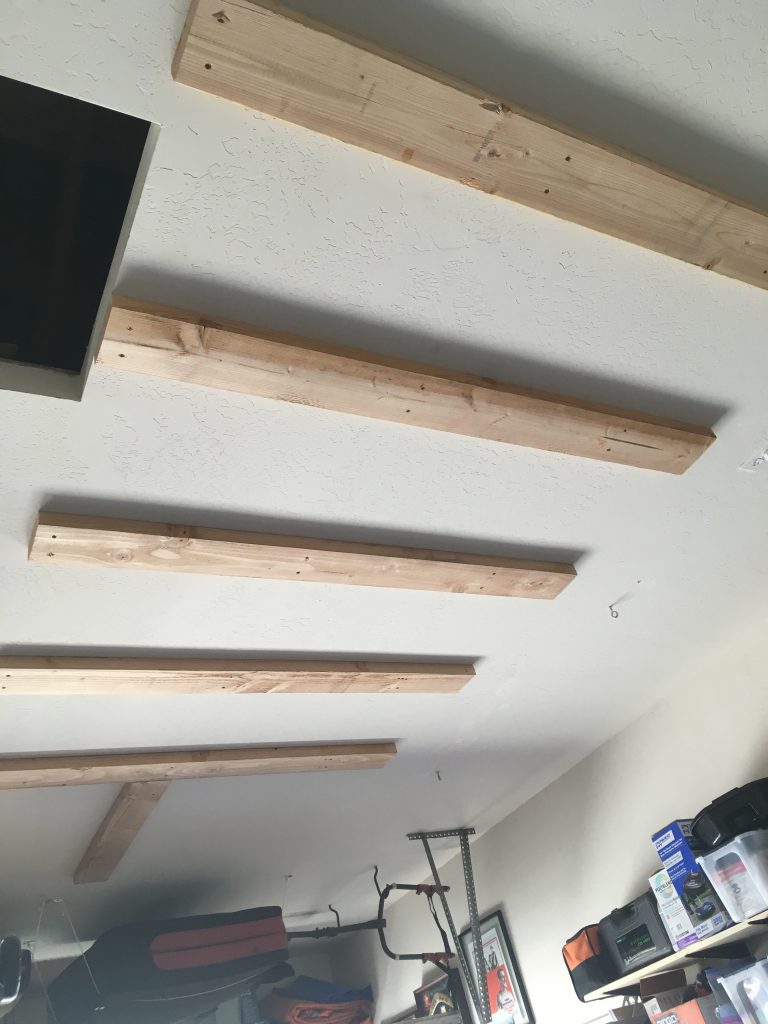
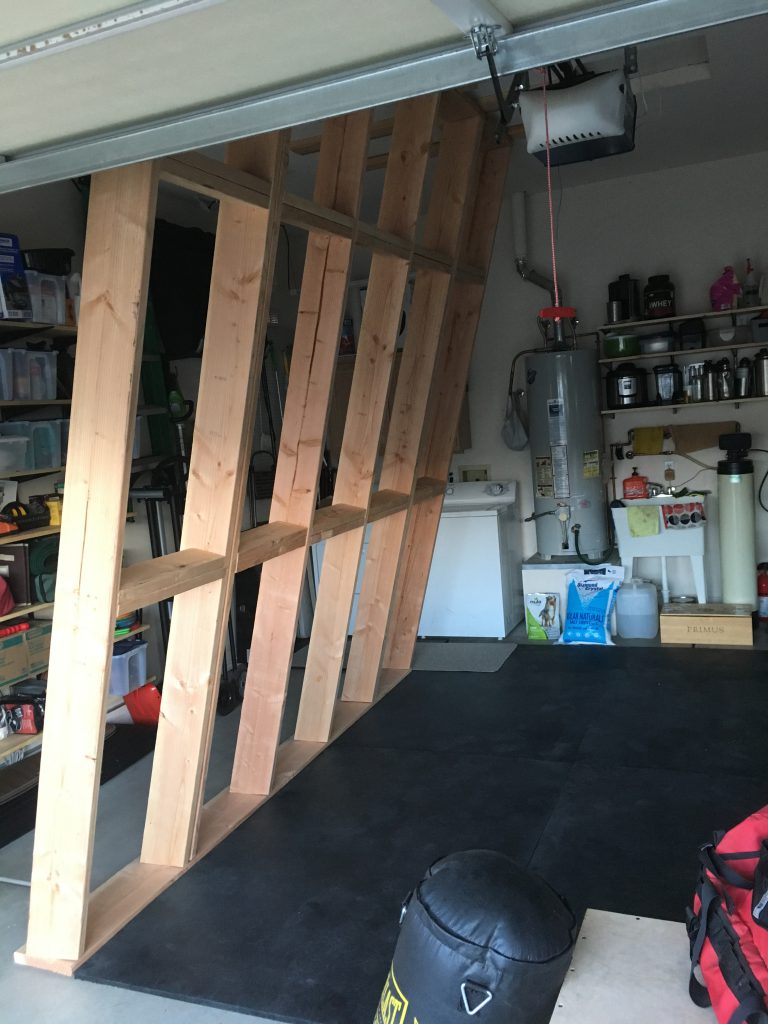
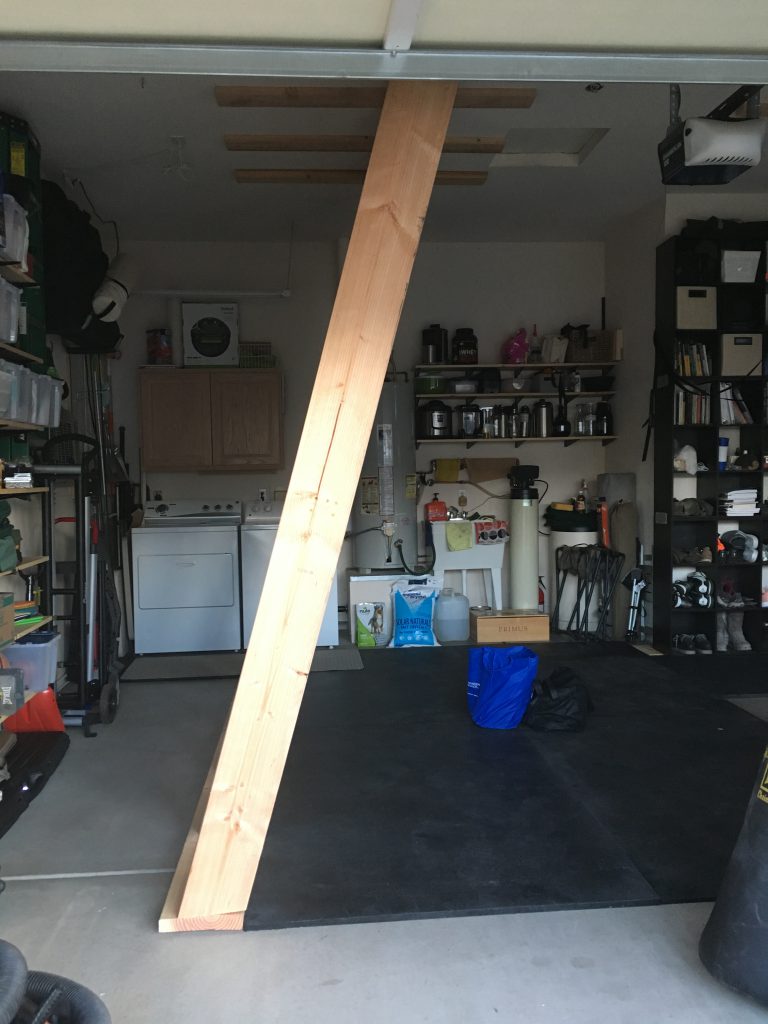
Knowing that I would not have the walls to help support the weight, and not wanting to lose shoulder room behind the wall, I opted to secure the wall to the ceiling and concrete floor with a header and a footer. The joists above my garage run parallel to the position of the wall so I had to put up sleepers (see photo below) to spread out the weight between multiple joists rather than expect a single truss to support all the weight. I used 5’ 2×6 boards so I could attach each sleeper to 3 joists using 3” decking screws. Then, I did some math. My ceiling height is 10’4” and I knew I wanted to build at a 15 degree angle (I figured it’s better to make the wall a little easier with a more upright angle so more of my friends and more inexperienced climbers could enjoy it, and I can always put on a weight vest if it comes to needing to up the difficulty).
Using some geometry, I found my wall height and the difference in distance between the header and footer board. After deciding how much space behind the wall I needed, it was time to cut the boards for the wall itself. I used 2×10 boards for the header and footer and 2×8 boards for the wall studs. I chose those sizes based on the height and angle of the wall, plus I knew that if I’d gone down a size for each, the wall could flex or bounce under a climber’s weight which would loosen the screws over time and require repairs – something I was trying to avoid. I cut the boards and laid them out, deciding to double up on the second stud in from both sides so the 4×8 foot panels I would later put on the front would each have their own stud to attach to.
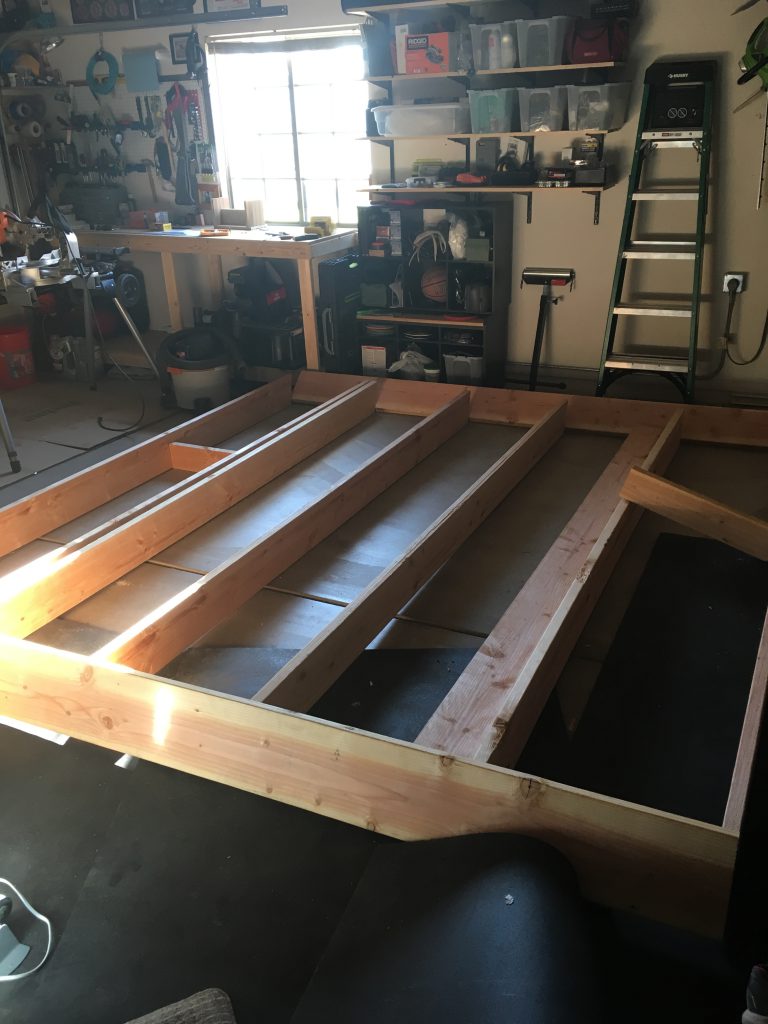
I added some 2×6” cross boards for stability and panel attachment points, then hoisted it into place with the help of my wife and passing-by neighbor.
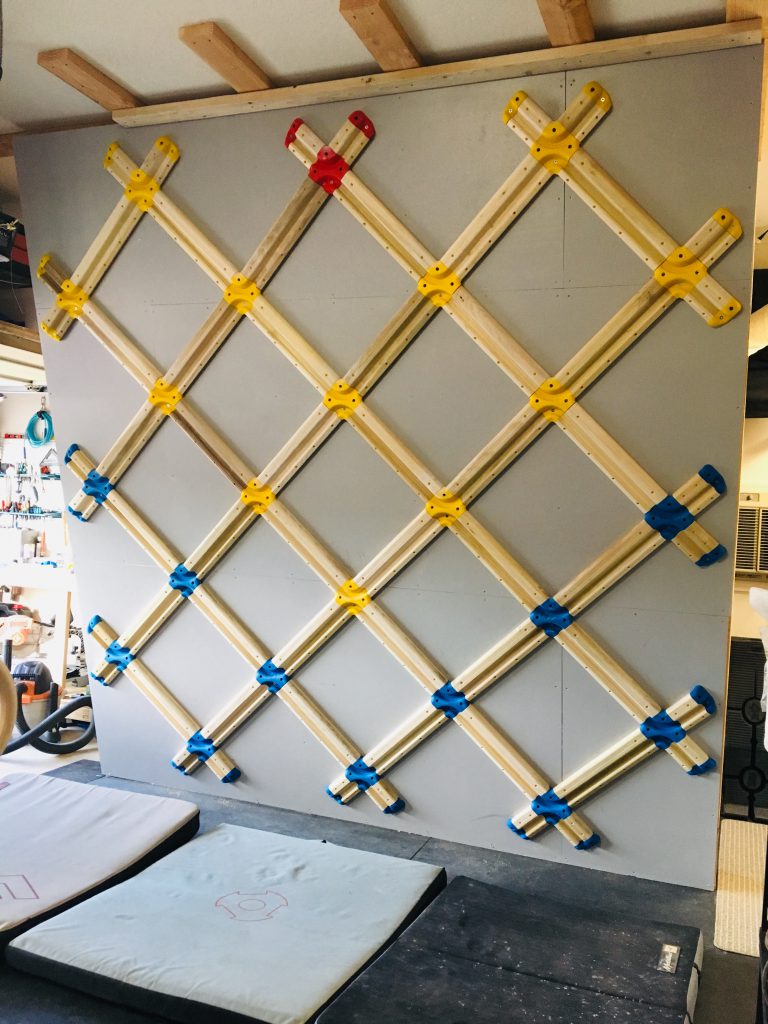
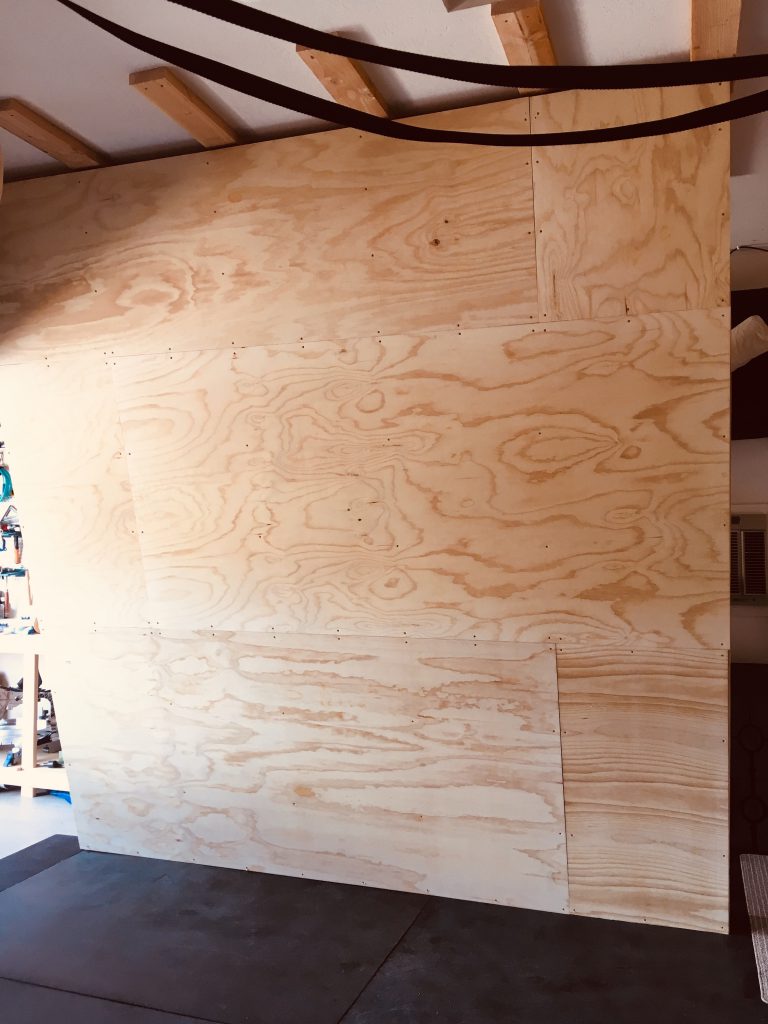
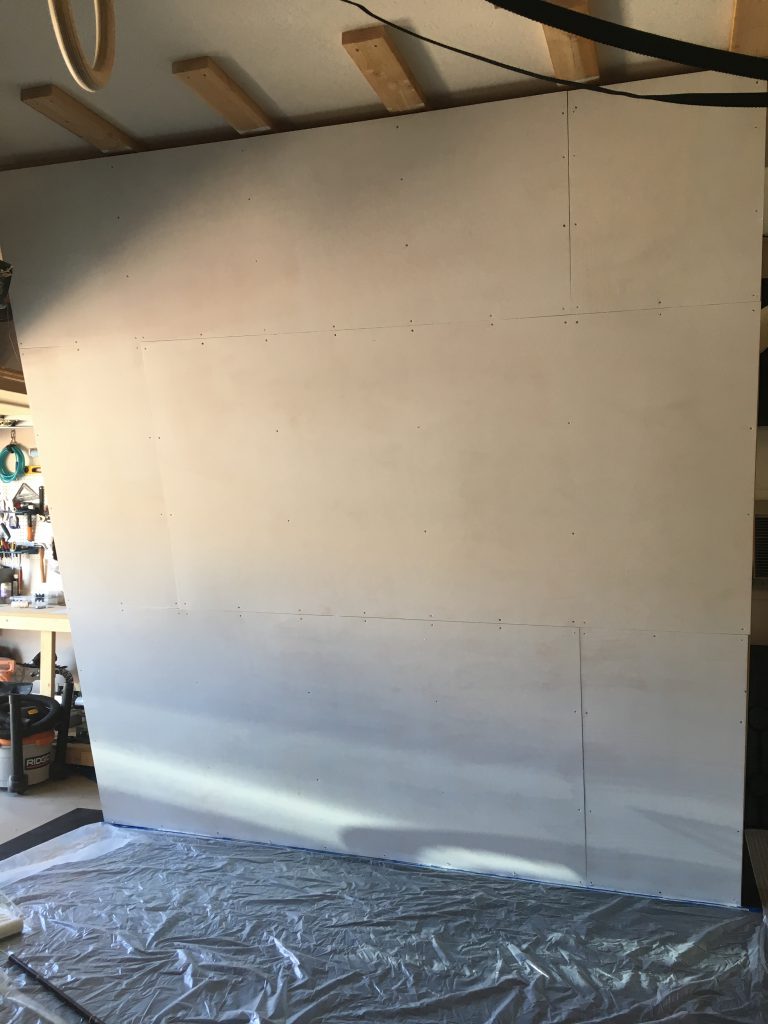
Next came the ¾” 7-ply plywood on the front. While a bit more expensive than lesser plywood, I wanted a smooth finish and the more ply (layers) the stronger and less likely to bend/warp the board. After screwing in with 2.5” decking screws, we painted the board a light grey color to brighten the space and make it feel less cave-y (see photos below). I already had rubber flooring for my gym setup (3/4” horse stall mats are cheap and easy to maneuver) and it just happened to fit the space in front of the wall perfectly.
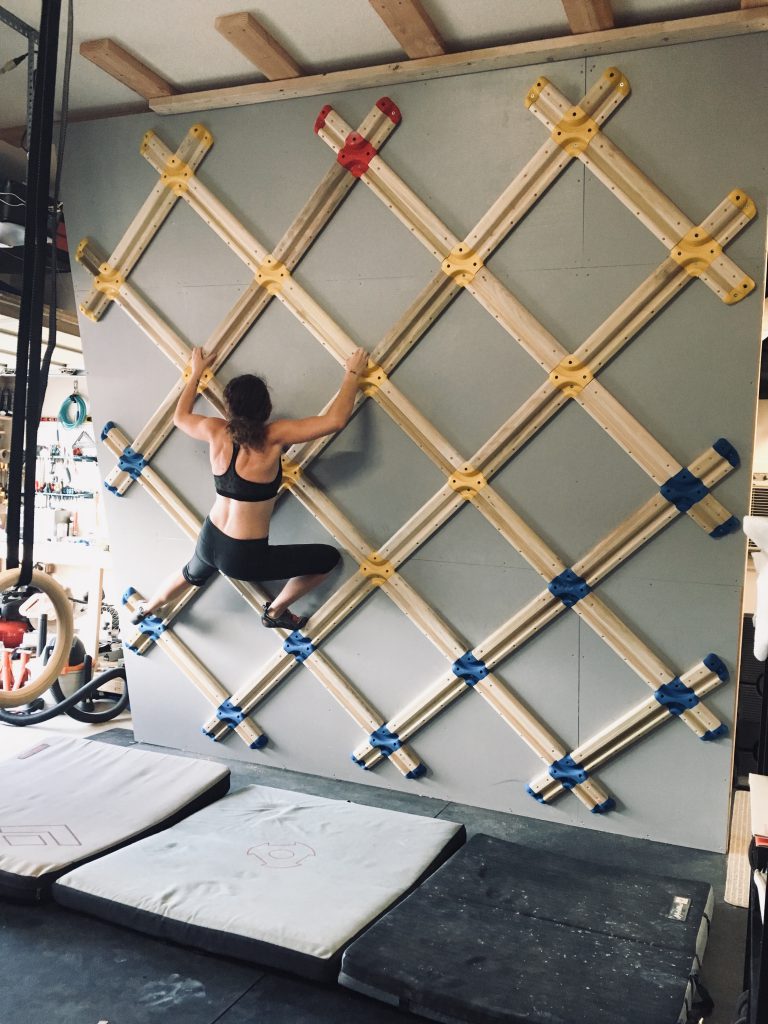
Last came the installation of the Lattice Board itself which, after some back and forth with the guys at Lattice on the preferred method and hardware, went up quickly. I started with the center diamond, measuring out the screw spacing for each of the 4 plastic corner pieces, screwed the top and bottom loosely into the board for some wiggle room, then proceeded to hold things up to see how close the tangible was to the mathematical. With only a slight change, and a 45 degree level to double-check everything, the boards all went up quickly.
I used 3” deck screws for the top holes, 2” for the bottom on the wood rungs, and #14 1.5” flat head wood screws for the plastic corner pieces. Pre-drilling the holes was a must to keep the rungs from shifting during installation. If you wanted a REALLY secure setup you could double up the plywood sheets on the front but it would also add cost and weight. After months of climbing on our wall, we’ve had no issues with loosening or movement at all. We tossed a few crash pads on the floor for the failure-falls and we were ready to train.
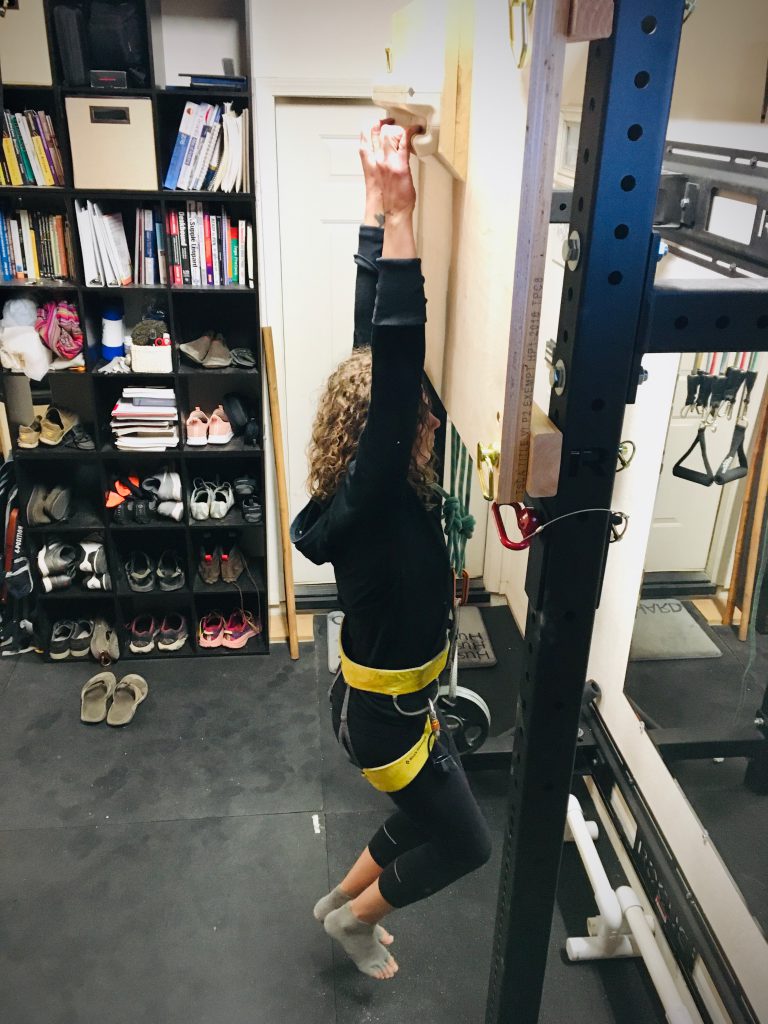
The only thing we had left to make was a setup for the extra training rung sent with the package. I created a double thick board out of ¾” birch plywood sheets glued and screwed together, then added another double layer of smaller pieces to it and mounted the rung on it. I cut the small backer pieces at a 45 degree angle on a table saw to give a soft edge for the wrists to contact but not get in the way of hanging.
I mounted the whole setup with some 2×4 cross boards to my squat rack thru the existing holes using lynch pins with locking safety pins in the back. That setup allows us to mount a pulley to the moveable pull up bar and add some counterweights for our finger strength sessions. I used double thick boards so the screws wouldn’t stick out of the other side since my hope is to add campus rungs to the backside of the board for a dual purpose setup.
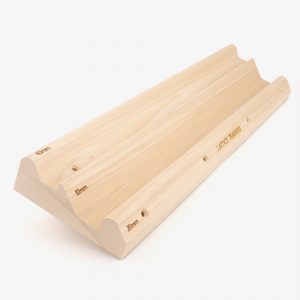
Check out our Lattice Boards in our shop: https://products.latticetraining.com/shop/

Do you guys sell the peices for the latticework portion of the board?
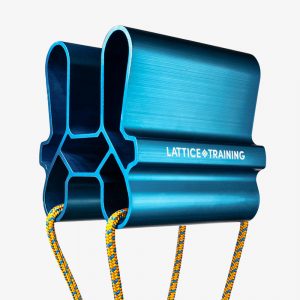
We don’t sell the Lattice Boards anymore I’m afraid. You can of course still buy our Original Testing and Training Rungs (+ End Caps) which make up the board!
( https://latticetraining.com/product/testing-and-training-rung/ )
How did you join the rungs?
What were the overall ballpark costs for the initial wall setup? Very cool to see this setup in a garage.
It’s around £1200 for the system wall and then material costs to build out the framing and board are typically around £300 (including fixings).
Ok, what do you think of your setup after 5 months? Has the 15 degree angle worked out as you expected? What would you do differently? Can you post some photos of what it looks like now? I have been thinking about building something similar in my garage.
Sorry for the delay on the reply but, you know, Covid…
We still love the wall and keep finding now ways to use it and be creative on it. The 15 degrees works for us as we figured it is always easier to make it harder (weight vests, time on the wall, etc) than to make it easier for our friends who are not quite able to keep up yet. Since we wanted it to be a hub for training among our friends, we wanted to make it as conducive to a variety of abilities as possible.
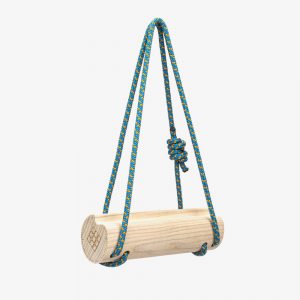
I’ll get some current photos taken and posted if possible. We’ve added footholds from Lattice as well as regular wooden climbing holes with bolts to add some variety for fun days.
This is WAY inspiring! Well done Dave 👊
Thanks Francesco! We keep adding to the build and wall with the power footholds and some wood holds for variety.