Flexibility for Climbers: Improve Your Front Split
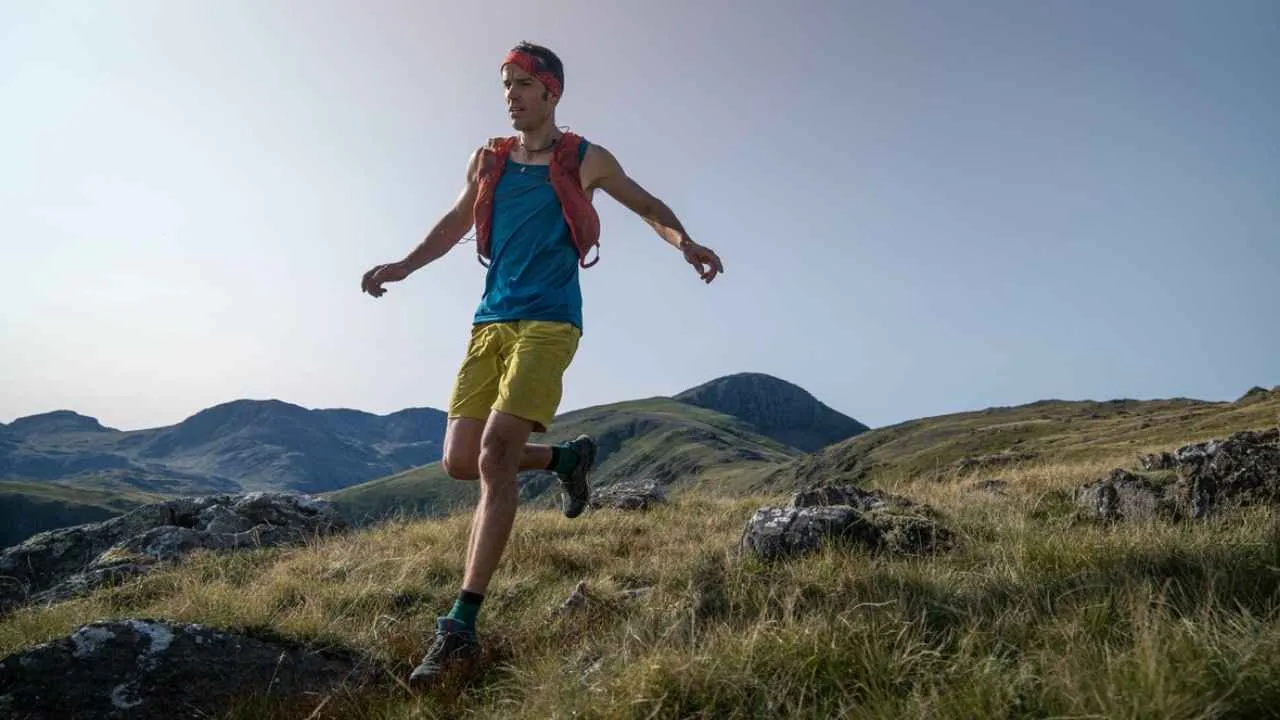
Flexibility is often an underrated asset in rock climbing. Climbers typically focus on upper body and finger strength during training, often neglecting lower body flexibility. However, flexibility can be your secret weapon. Being able to move through a wider range of movement and maintain strength throughout opens up new movement possibilities, enabling you to try beta that may have been inaccessible previously. You might not realize how much your lower body flexibility and end-range strength could be holding you back!
In this series, Flexibility for Climbers, we'll be providing you with simple sequences of exercises that you can use 1-2 times a week, in addition to any lower-intensity flexibility sessions. Complete the sequence of exercises in the order shown to ensure that you can get the most out of each individual component.
The sequences are comprised of 4 different sections, designed to take a holistic approach to improving lower body mobility and strength through the range.
Read all the articles:
Improve Your Front Split
Welcome to the final part of the flexibility series, in which will explore a range of sessions designed to improve your front split. To get the most out of this sequence of exercises, you’ll need to be reasonably flexible in the pike position.
 If you’re not sure whether your current base-level pike is sufficient, you can easily measure this using a pike test, as described in this article. When your pike is at the level when you can reach your fingers/knuckles to your toes, you can progress to starting with this front split flexibility sequence. An initial training block focused on pike development is extremely helpful because of the work that is done on developing hamstring length and hip flexor strength, both of which are needed for the front split.
The order that you complete this sequence of sessions can have a big impact on the quality of each individual component, so be sure to do the sessions in the order that they are listed, with the Awareness/Facilitator component first, followed by Range of Motion development and concluding with Strength.
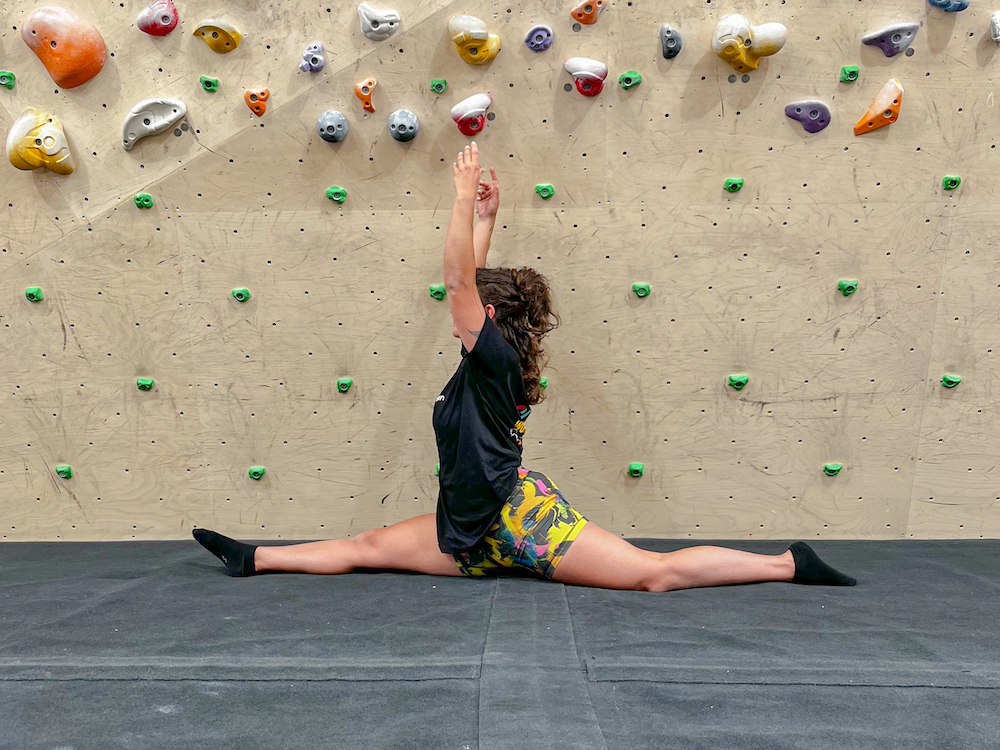
What is a front split?
The front split can be performed by straightening one leg out in front of you and the other leg out straight behind. This stretch is unique in that it targets opposing muscle groups, depending on which leg is the leading leg (or the leg stretched out in front). For a true front split, both legs will be completely straight. The torso will face in the direction of the front leg and both anterior points of the pelvis will be level. The hip, knee, and ankle of both legs will be fully aligned. However, as we are climbers and not strict gymnasts, we can allow for some rotation in the pelvis and this may even be more translatable to our climbing.
 ## Why is this useful for climbing?
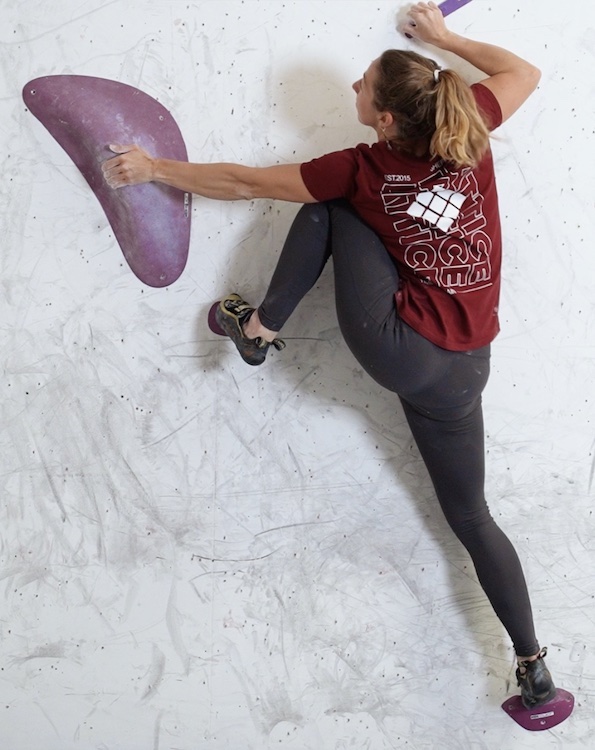
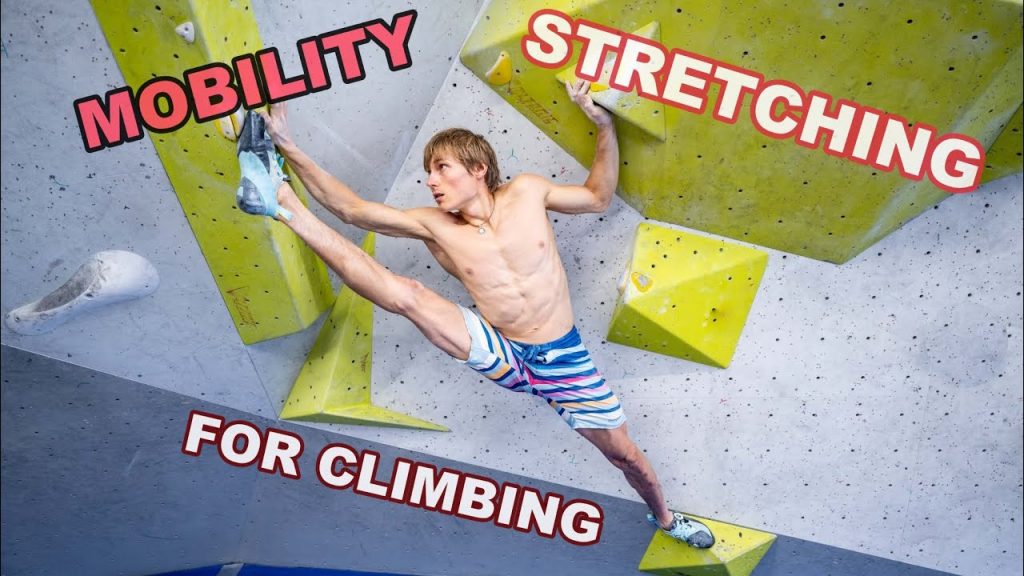 Realistically, you’re unlikely to find yourself in a position quite like this in day-to-day climbing life, but there are certainly times when having a good front split could transfer into your climbing and allow you to access a greater range of body positions, especially high steps and rockovers.
 Screenshot
1. Awareness/Control
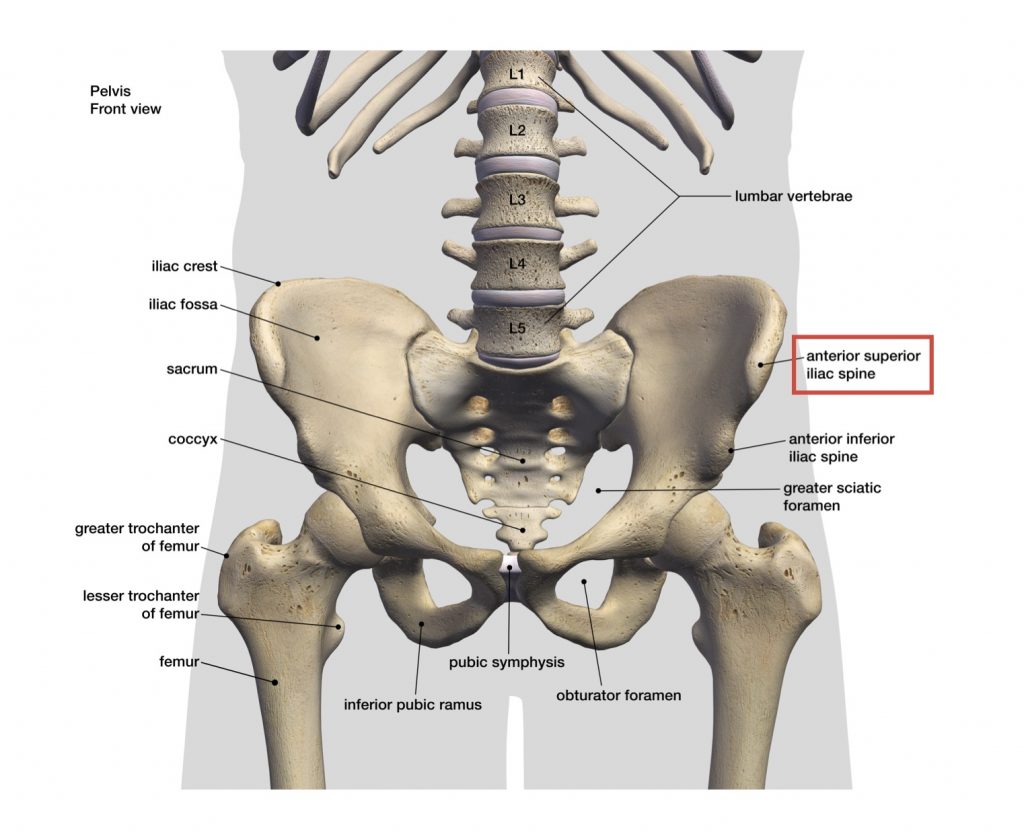
Before commencing with a block of front split training, it’s important (once again) to bring awareness to the pelvis and how to set your pelvis in an anterior, posterior or neutral pelvic tilt. For a quick re-cap, check out our article on improving your pike. However, this time, rather than just focusing on whether the pelvis is set in a tilt, you’re looking to check that your pelvis is square. This can be done by standing in a mirror and placing your hands on your hips. With your fingers, you should be able to locate a bony protrusion on each side of the front of your pelvis (the anterior superior iliac spine or ASIS). It can be useful to use a skin-friendly marker to draw a dot where you feel these protrusions to help bring awareness and intention to body positioning.
 If you complete the exercises described in this flexibility sequence in front of a mirror, you will be able to check that your pelvis is square and your hips are level (pointing forward). Remember, that some rotation in the pelvis is okay and may even be more translatable to our climbing, but being aware of pelvic positioning as you progress to the facilitators is still a good idea.
2. Facilitator
When selecting facilitator exercises, it’s important to consider both the front leg and the back leg. The front leg will require length in the hamstrings and strength in the quads and hip flexors, and the back leg will require length in the hip extensors and strength in the hamstrings. Leg Swings effectively activate the relevant muscle groups and temporarily increase range of motion for both front and back leg positions, which will help improve performance in the first sets of subsequent exercises.
Leg Swings - Dynamic Stretch
 1. Stand on both legs holding onto a climbing hold, squat rack, etc. for stability. It’s important to make sure that the space in front of you is clear.
2. Lift one foot and slightly externally rotate it (toes out). Lift that foot/leg to the sky across your body, keeping your leg straight.
3. Use momentum to lift and lower the leg. Allow the leg to follow the ark and swing out behind you.
4. Complete 2 sets of 6 reps (per side), with 15 seconds inter set rest.
1. Stand on both legs holding onto a climbing hold, squat rack, etc. for stability. It’s important to make sure that the space in front of you is clear.
2. Lift one foot and slightly externally rotate it (toes out). Lift that foot/leg to the sky across your body, keeping your leg straight.
3. Use momentum to lift and lower the leg. Allow the leg to follow the ark and swing out behind you.
4. Complete 2 sets of 6 reps (per side), with 15 seconds inter set rest.
HINT: When completed more slowly and with greater control, this exercise is great for hip flexor strength.
The dynamic Leg Swings session will have temporarily increased length in the hamstrings, but this can be further supported with the Hamstring Stretch. If you were able to touch fingers/knuckles to the floor in the Pike Test then this static stretch will be a gentle way to further increase length.
Hamstring Stretch

Intention - Gradually build up tension over the first 20-30 seconds. Aim to increase slowly to maximum tolerable limit. Breathe deeply and aim to allow the targeted muscle to lengthen, increasing the depth/range of the stretch every 10-15 seconds (if possible) to maintain the ‘maximum tolerable limit’.
In 'Improve your Pike', we explored the concept of length before strength and the same rule applies with the front split. We have already started to address this with the Hamstring Stretch, but now we need to focus on increasing the range of motion specifically required for front split. Because the Couch Stretch provides a stimulus for both the front and back leg, this exercise is really transferable to the front split.
3. Range of Motion
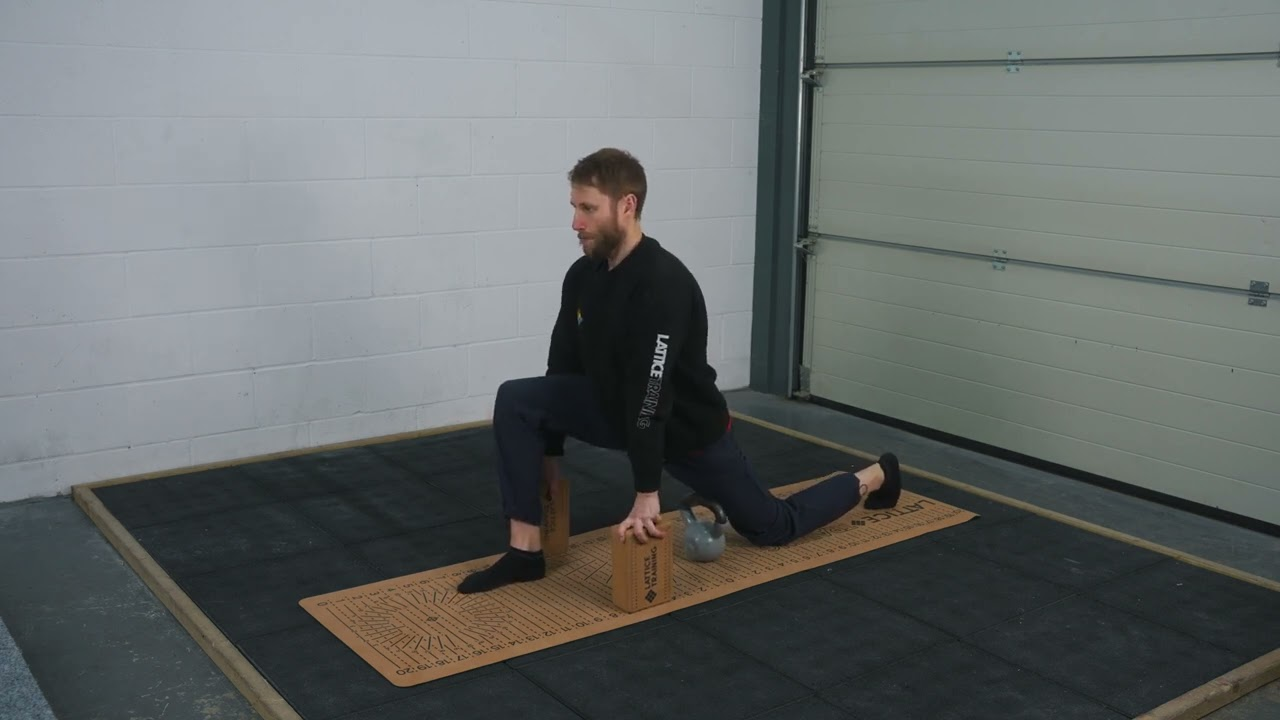
Couch Stretch Kneeling - Static Stretch

Intention - Gradually build up tension over the first 20-30 seconds. Aim to increase slowly to maximum tolerable limit. Breathe deeply and aim to allow the targeted muscle to lengthen, increasing the depth/range of the stretch every 10-15 seconds (if possible) to maintain the ‘maximum tolerable limit’.
If you're finding the 30 second isometric hold variation of the Couch Stretch too challenging, it may be more appropriate to start with reps, as with the Hip Flexor Lunge.
Hip Flexor Lunge - Tempo Stretch
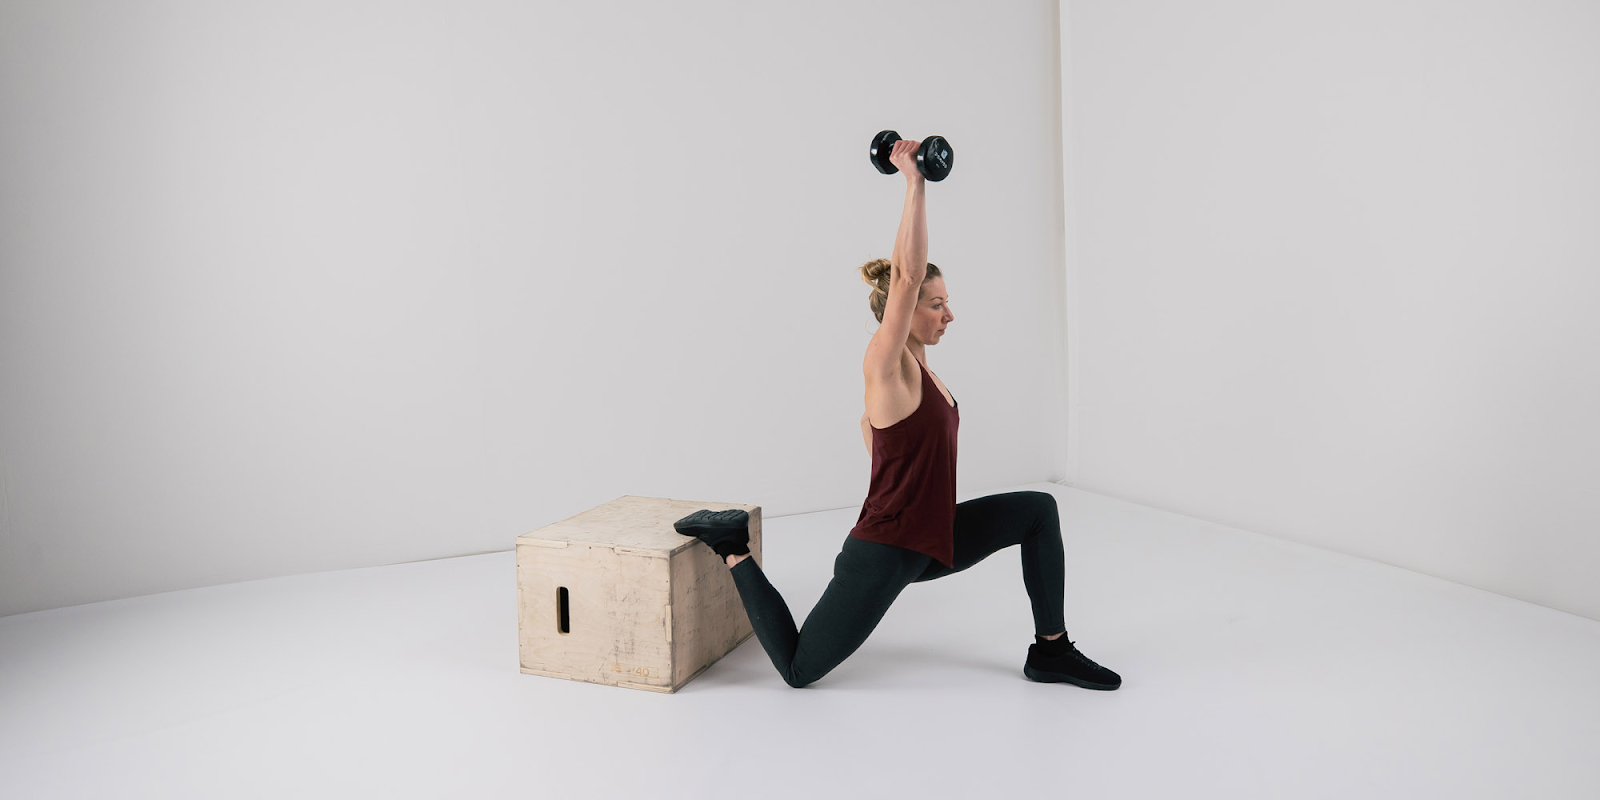
Intention - Tempo stretching is dynamic stretching that MUST move slowly to avoid muscle reflex (tightening of muscles). Moving too fast limits the effectiveness of this stretch. You should also move into the maximum tolerable limit each rep, aiming to get lower each time.
3s - eccentric/lowering 2s - pause at bottom 2s - concentric/lifting 1s - pause at top
HINT: Start without using weight. Only gradually introduce weight to gently access greater depth when you feel like you have plateaued.
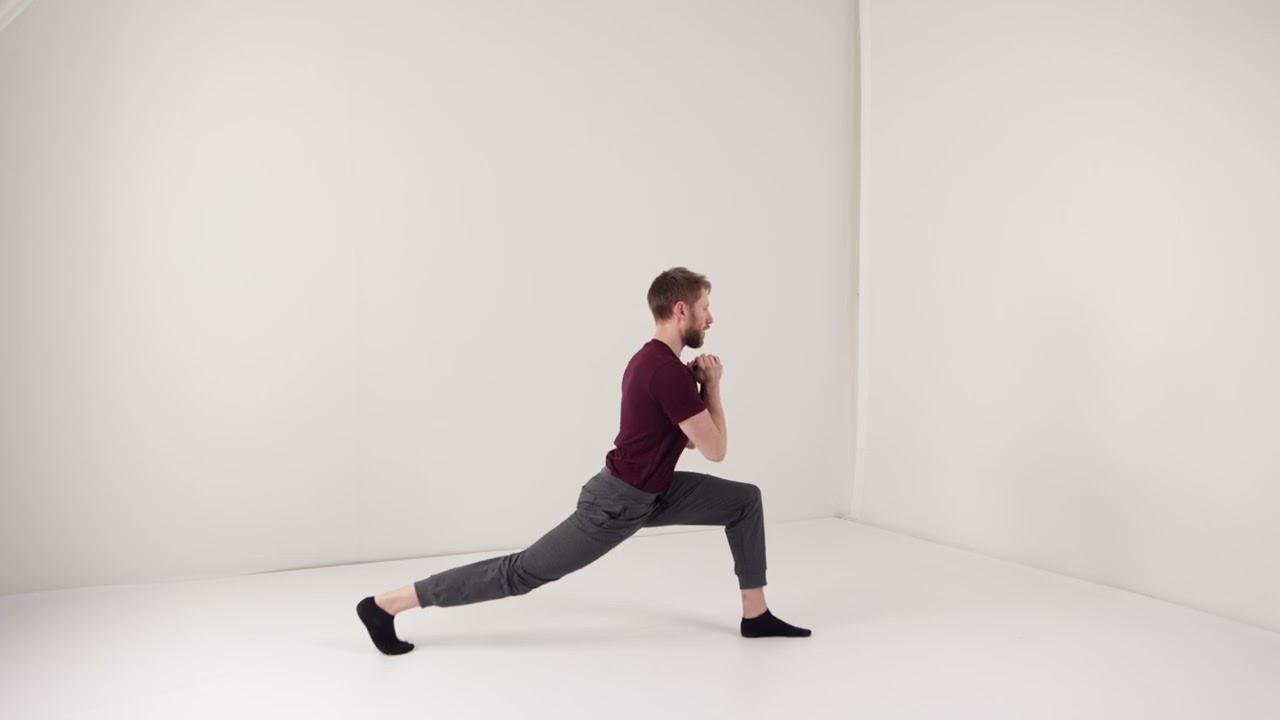
When selecting appropriate exercises to prepare for the front split, it’s important that the exercises are as relevant and specific as possible. For that reason, Long Lunge Lifts Offs are a great introductory exercise for muscle recruitment in both the front and back leg, but especially the hip flexors in the front leg.
Long Lunge Lift Off - Strength Development
Intention - An integral part of developing flexibility is the ability to control and display your full range of motion using your own strength.
HINTS:
1. The Long Lunge should be LONG! Progress the exercises by moving the leg further back over the course of your 8-12 week training block.
2. The Long Lunge should be LOW. As you elevate your knee, don’t lift your torso. This will increase the intensity of the exercise.
When you start to feel stronger and more comfortable with this exercise, you can increase the challenge by progressing to the Long Lunge isometric hold.
Long Lunge Iso - Static Stretch
Intention - Gradually build up tension over the first 20-30 seconds. Aim to increase slowly to maximum tolerable limit. Breathe deeply and aim to allow the targeted muscle to lengthen, increasing the depth/range of the stretch every 10-15 seconds (if possible) to maintain the ‘maximum tolerable limit’.
HINT: The aim is for the back leg to deviate (or extend) away from the torso.
Progress the exercise by extending your leg backwards, as far as possible, keeping your knee off the ground. Consider gradually adding weight to gently access greater depth, but no more than 5-15% of bodyweight.
4. Strength
After working on range of motion development, the flexibility sequence will now focus on strength development. For the font split, you will need strong hamstrings in the front leg to maintain tension and provide stability. Without this stability, you may feel wobbly and this could put you at an increased risk of injury. The Prone Banded Hamstring session will help to build hamstring strength, especially at that end range.
Prone Banded Hamstring Reps - Strength Development

Intention - An integral part of developing flexibility is the ability to control and display your full range of motion using your own strength
It’s also important to consider both the front and back leg when developing strength, whilst also trying to develop proprioception (a deeper understanding/awareness of movement) in specific positions. As with the side split, it’s important to build strength using exercises that are specific to the front split and a good way to do this is using a front split isometric hold.
Front Split Iso - Static Stretch

Intention - Gradually build up tension over the first 20-30 seconds. Aim to increase slowly to maximum tolerable limit. Breathe deeply and aim to allow the targeted muscle to lengthen, increasing the depth/range of the stretch every 10-15 seconds (if possible) to maintain the ‘maximum tolerable limit’.
If you already have a reasonably good front split, then focusing on developing your strength through that range is a good way to progress this exercise. This can be done using a rep-based variation of the front split called Front Split Pulse.
Front Split Pulse - Strength Development

Intention - An integral part of developing flexibility is the ability to control and display your full range of motion using your own strength.
Now that you have completed the most specific component of the strengthening component of the sequence, you can now focus on developing strength in the other key muscle groups needed for the front split. Hip flexor leg raises provide a stimulus to improve hip flexor strength and quad strength, both of which are needed for the lead (front) leg.
Supine Hip Flexor Lift - Strength Development

Intention - An integral part of developing flexibility is the ability to control and display your full range of motion using your own strength.
HINT: To really work end range strength, start in a position where you can feel a stretch.
When you can do this exercise and your elevated leg is at 90 degrees perpendicular to the floor, you’re ready to progress to Pike Core Compressions.
Pike Core Compressions - Single Leg - Strength Development
 1. Start seated, with both legs together and straight out in front of you.
2. Put your hands down on the floor, either side of you and tucked in close to your hips to provide stability. This is neutral.
3. Keeping your hands on the floor, engage your core and your hip flexors to lift one leg off the floor.
4. Aim to keep both legs straight and avoid rounding through the back or letting your torso lean backward.
5. Return to neutral.
6. Reach your hands further towards your feet to progress the difficulty.
7. Complete 2 sets of 6 reps with 30 seconds Inter Set Rest.
8. Set the Intention.
1. Start seated, with both legs together and straight out in front of you.
2. Put your hands down on the floor, either side of you and tucked in close to your hips to provide stability. This is neutral.
3. Keeping your hands on the floor, engage your core and your hip flexors to lift one leg off the floor.
4. Aim to keep both legs straight and avoid rounding through the back or letting your torso lean backward.
5. Return to neutral.
6. Reach your hands further towards your feet to progress the difficulty.
7. Complete 2 sets of 6 reps with 30 seconds Inter Set Rest.
8. Set the Intention.
Intention - An integral part of developing flexibility is the ability to control and display your full range of motion using your own strength.
For many the goal to improve flexibility really ties in with what it is about climbing that’s important to them… that enjoyment of fluid movement. As with all aspects of physical training, being able to see incremental improvements is crucial as this helps with the overall satisfaction that we have with our training and the progress that we’re making. Tracking progress over time can bring accountability, encouraging us to be autonomous with our training. This can help us to sustain our motivation for the duration of a training block. As with the other flexibility positions explored in this series, it’s useful to measure your front split before you start your block of training. This can be done with the free My Flex assessment, for which you will require access to a Flex Mat. Alternatively, you could take a basic measure of your front split by measuring the distance from the front heel to the heel of your back foot. It’s a good idea to measure your front split before starting any front split training and then again every 8-12 weeks.
As climbers, it’s useful to take a holistic approach to flexibility training as it’s useful to be flexible in a broad range of positions. To do so, you could work on each position in rotation, focus on the positions that you feel you most need to improve in or specifically select a position that aligns with your climbing goals, based on the movement style of a given climb or climbing area. You may wish to revisit some of the other positions in this series, so these are listed below.
If you’ve enjoyed the content of this flexibility series and you’re eager to learn more then check out our new Flexibility Deep Dive course for ideas on how to write your own flexibility training plan, access to recorded Q&A lessons with our team of flexibility coaches and lifetime access to over 50 lessons.
If you've found this article helpful, you may wish to read our other articles in the series:
Together, all these exercise sessions can be used to improve your lower body flexibility for climbing.
For a more accurate assessment of exactly where you need to start on your flexibility journey, you may be interested in our free My Flex Assessment
Interested in flexibility training plans or learning more? Check out our Flexibility Training Plan or our Flexibility Deep Dive course!
Comments (0)
Be the first to leave a comment.