Pancake Flexibility for Climbers: A Progressive Routine
Unlock the pancake stretch for high-feet and slab climbing. Jemma Powell's step-by-step programme builds hip flexor range designed around climbing movement.
Flexibility is often an underrated asset in rock climbing. Climbers typically focus on upper body and finger strength during training, often neglecting lower body flexibility. However, flexibility can be your secret weapon. Being able to move through a wider range of movement and maintain strength throughout opens up new movement possibilities, enabling you to try beta that may have been inaccessible previously. You might not realize how much your lower body flexibility and end-range strength could be holding you back!
In this series, Flexibility for Climbers, we'll be providing you with simple sequences of exercises that you can use 1-2 times a week, in addition to any lower-intensity flexibility sessions. Complete the sequence of exercises in the order shown to ensure that you can get the most out of each individual component.
The sequences are comprised of 4 different sections, designed to take a holistic approach to improving lower body mobility and strength through the range.
Read all the articles:
Improve Your Pancake
What is a pancake?
Although probably most famous as a delicious sweet or savoury treat, the pancake is also known as the straddle fold. Pancake exercises primarily provide a stimulus for the hamstrings, adductors, and hip flexors.
 ## Why is this useful for climbing?
In climbing, the pancake translates to moves that require us to have our hips open and our body close to the wall. For example, high-heel hooks and compression-style climbing. To do this effectively when climbing and to successfully target this with our flexibility training, it’s important first to bring awareness to your movement.

1. Awareness/Control
This part of the sequence aims to help bring awareness to your movement so that you can execute each exercise with control/good form and without letting overly dominant, compensatory muscles take over.
As with the pike, an important starting point for the correct execution of any of the pancake exercises is knowing how to perform an anterior pelvic tilt. Firstly, it’s important to bring awareness to how your pelvis sits naturally. Many climbers trend towards a posterior pelvic tilt, whereas women who have been through pregnancy often find themselves sitting in an anterior pelvic tilt due to the significant anatomical changes that occur. Regardless of your posture, bringing awareness will help you to establish what steps need to be taken before making a start with your pancake work.
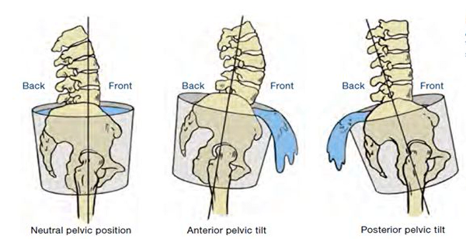 One way to assess your posture is to imagine your pelvis is a bucket containing water. When the pelvis is sitting in a neutral position, the water in the bucket is level. When we enter into an anterior pelvic tilt (‘ante’ taken from Latin, meaning ‘preceding’’), the back muscles will start to flex/arch and the abdominal muscles will lengthen. As a result, the water spills out of the front of the pelvic bucket. Conversely, in a posterior tilt (‘post’ is taken from Latin and means ‘after’), the abdominal muscles will shorten and the back/shoulders will round, resulting in water spilling out of the back of the pelvic bucket.
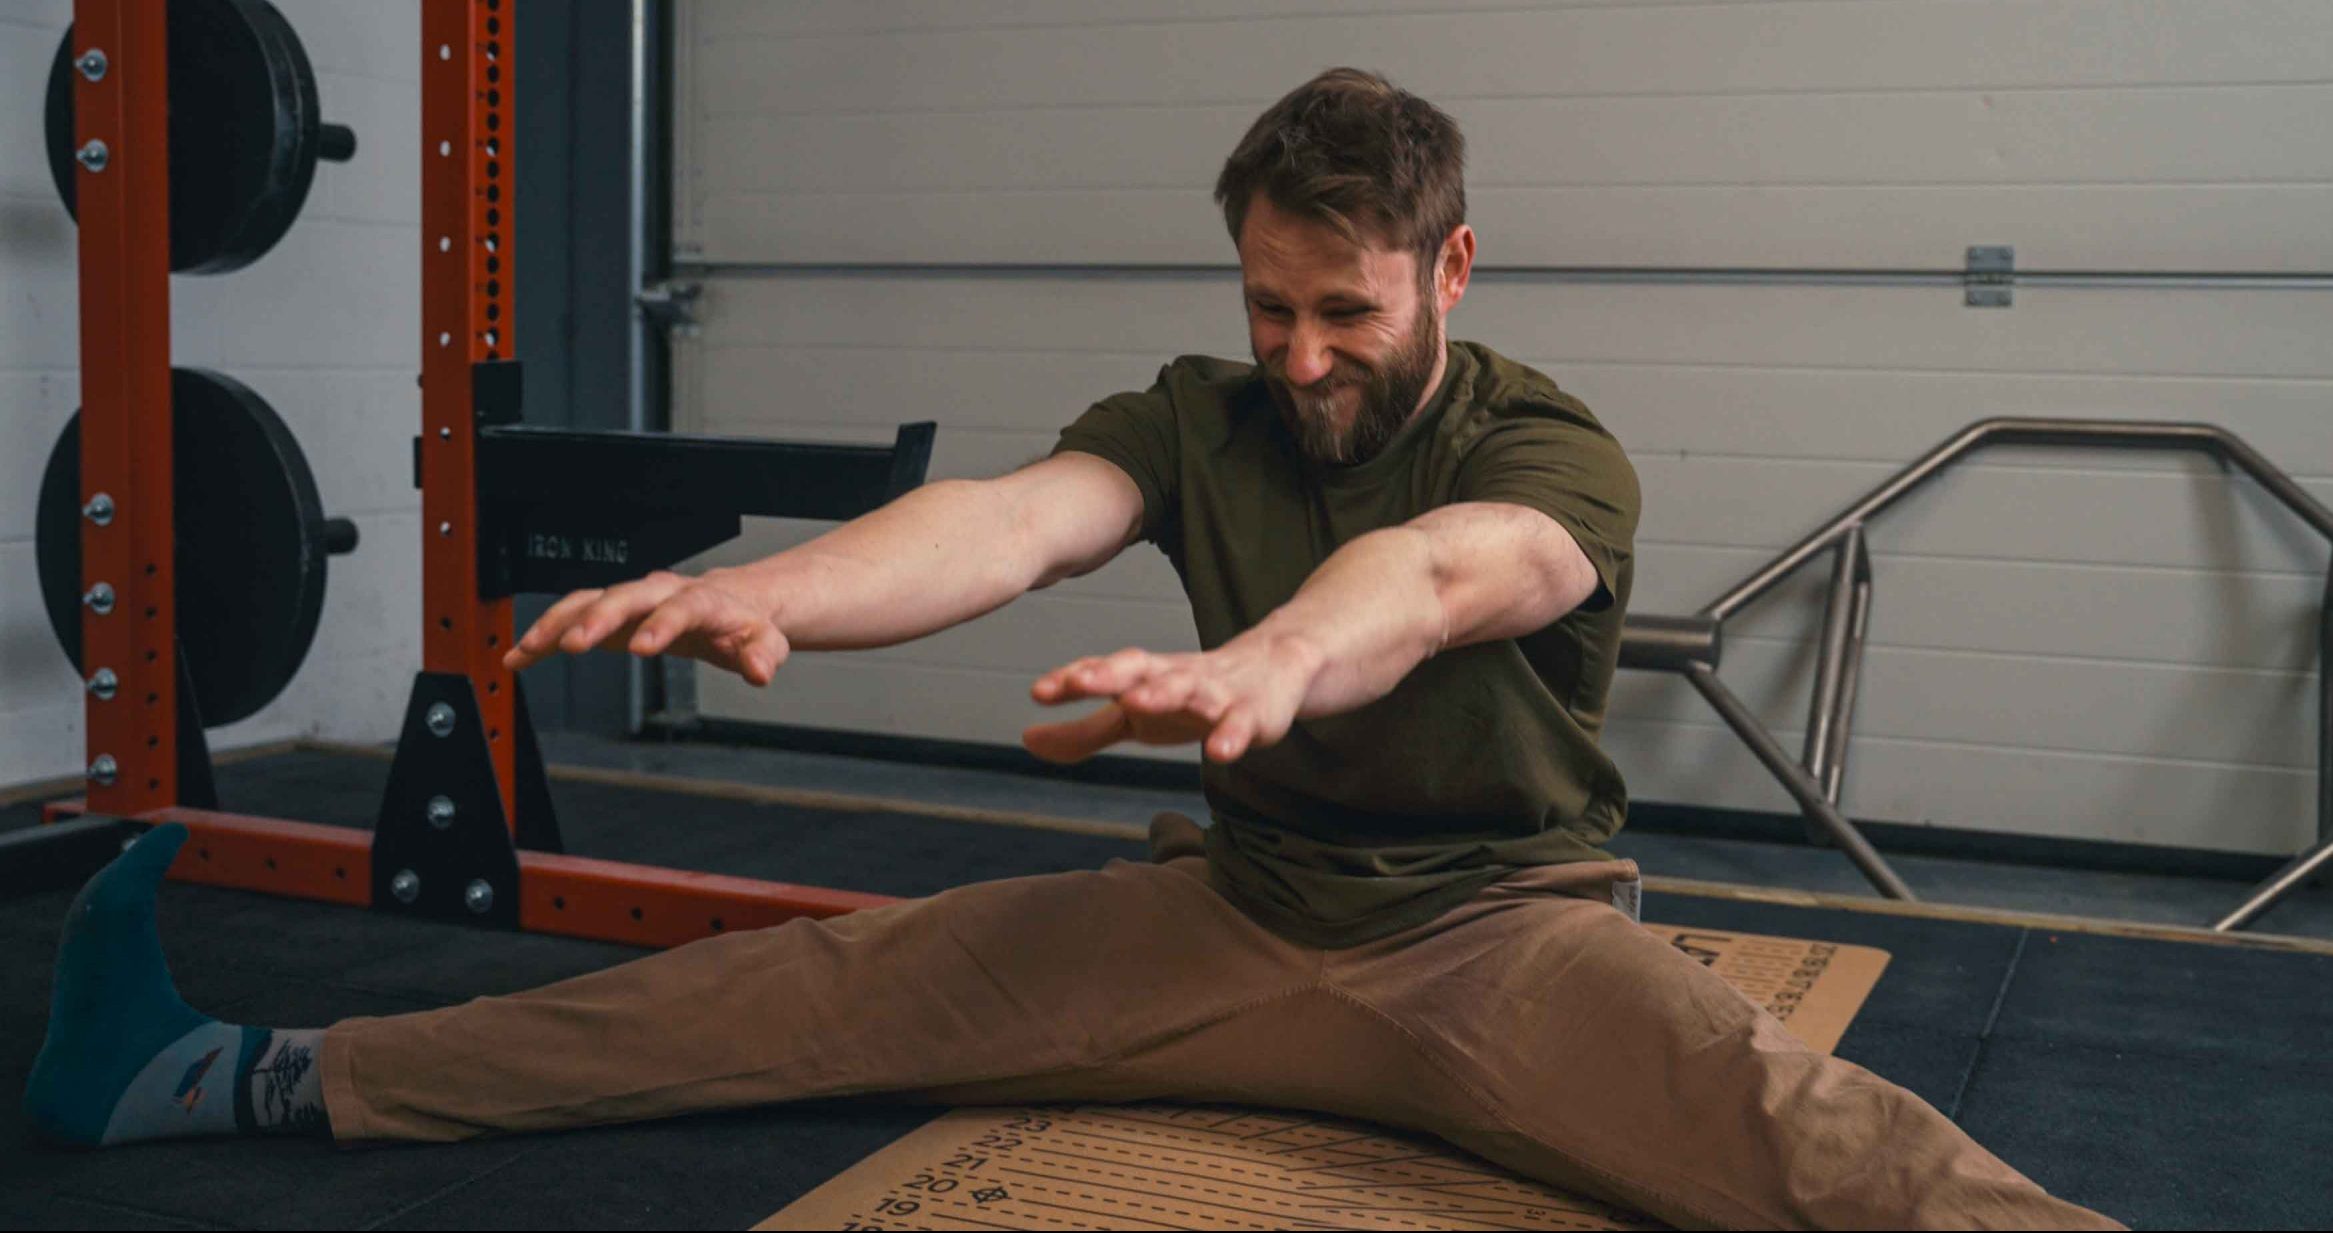
A great way to bring awareness to an anterior/posterior tilt is using a Rocking Pancake. This exercise is also useful for waking up and recruiting the hip flexors without fatiguing the muscles. This can be used as a stand-alone session and works well when completed every 6-8 weeks so that you can check in with how your body is feeling throughout your flexibility training. If your lower body flexibility isn’t very well developed (yet), you may find getting into a seated pancake position quite challenging. You may feel that you need to bend your knees or round your back and shoulders to get into a straddle position. If this is the case, to complete the exercise correctly and with good form, you may need elevation. This can easily be done by sitting on something like a yoga block.
Rocking Pancake
- Straddle your legs to the side. Keep your legs straight, your shoulders/chest open and your head lifted.
- Use your hip flexors to rock your hips/pelvis forwards and backwards between an anterior and posterior pelvic tilt.
- Try not to clench the glutes to execute the transitions. You can palpate your glutes to check this. Does your butt feel firm/tense or soft/relaxed through the movement?
Recommendation: Complete 2 sets of 6 reps, with 30 seconds inter set rest.
Top Tip: Overuse of glutes during this exercise is often a result of weak hip flexors. Weaker hip flexors often become tight or tense because they’re weak. If this is the case, strengthening here first can be really useful.
If you’re struggling to complete this exercise without glute clenching, it could be a good idea to start off with a Leaning Pancake and then progress to the Rocking Pancake when you’re ready.
Leaning Pancake
- Stand in a staddle with your butt against the wall.
- Because your butt is against the wall, this will help you to rock between an anterior and posterior pelvic tilt with the glutes disengaged.
- Use your hip flexors and contract the lower back to rock your hips/pelvis forwards and backwards between an anterior and posterior pelvic tilt.
- As this is just an awareness exercise, you won’t need to use a weight (as shown in the image).
Recommendation: Complete 2 sets of 6 reps, with 30 seconds inter set rest.
2. Facilitator
The facilitator aims to warm up through your accessible range to set up for the rest of the sequence. A nice place to start is with dynamic stretching, due to the fact that it feels great, facilitates a temporary increase in range of motion and helps people that are just generally very stiff.
Leg Swings
- Stand on both legs holding onto a climbing hold, squat rack, etc. for stability. It’s important to make sure that the space in front of you is clear.
- Lift one foot and slightly externally rotate it (toes out). Lift that foot/leg to the sky across your body, keeping your leg straight.
- Use momentum to lift and lower the leg. Allow the leg to follow the ark and swing out behind you.
Recommendation: Complete 2 sets of 6 reps (per side), with 15 seconds inter set rest.
Top Tip: When completed more slowly and with greater control, this exercise is great for hip flexor strength.
Once you have completed this exercise you can then transition to a Seated Good Morning. This exercise will help to continue bringing awareness to the hip flexors, but without bringing too much intensity because it’s a supported exercise. This exercise is particularly useful because it removes any limitations that may arise due to tightness in the hamstrings, whilst warming up through the adductors range.
Seated Good Morning
- Sit down with your knees bent and your legs in a straddle position. It works well to straddle a bench.
- Enter into an anterior pelvic tilt, keeping your lower back tensed.
- Use your hip flexors to hip hinge forward, aiming to keep your back level. You MUST not flex or bend the back.
- Initially, you may benefit from completing this exercise at bodyweight, whilst you familiarise yourself with the movement. Progress to adding low loads.
- Increase the intensity by elevating the feet and externally rotating them (turning them).
- Set the intention for the session, which is TEMPO.
Tempo stretching is dynamic stretching. You MUST move slowly to avoid muscle reflex (tightening of muscles). Moving too fast limits the effectiveness of this stretch. You should also move into the maximum tolerable limit for each rep, aiming to get lower each time.
Tempo is prescribed in 4 phases, each that correspond to seconds:
- 3s – eccentric/lowering
- 2s – pause at the bottom
- 2s – concentric/lifting
- 1s – pause at top
Recommendation: Complete 3 sets of 4 reps. 60 seconds inter set rest.
Top Tip: Only increase the load to gently increase the range. The best way to progress this exercise is to try to increase the depth of the fold.
This exercise works better with a bar than a weight, as using a weight plate can cause discomfort in the neck. Using a barbell can also help to maintain good form in the spine/shoulders.
Can you combine pike and pancake?
If you know that both your pancake and pike are poor why not incorporate a hamstring-based facilitator into your pancake sequence? Best of both worlds! For a re-cap on this, see how to improve your pike. Now that the facilitators are complete, you can turn your attention to increasing your range of motion.
3. Range of Motion / Antagonist
As a reminder, when we look to strengthen the agonist muscles, our range of motion will be limited by the antagonist muscles. With the pancake, this would mean that to strengthen the hip flexors, we would first need to lengthen/increase the range of motion in the hamstrings and adductors. One thing to consider is that because the hamstrings are a bigger muscle mass, they may longer to lengthen.
Although pancake variations (there are many!) are a fantastic way to bring length to the hamstrings and adductors, it can be tricky to figure out how to scale the challenge and select the pancake exercise that’s right for you as you progress through your flexibility training.
There are two simple things to consider:
1. When sitting on the floor with your legs straddled, are you comfortable and able to keep your legs straight and chest open?
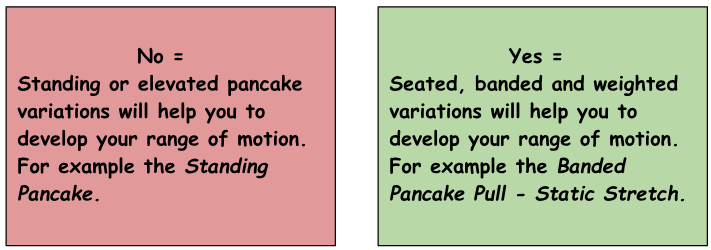 ### No - Standing Pancake
- Stand with your legs straight and in a straddle position.
- Enter into an anterior pelvic tilt, keeping your lower back tensed.
- Use your hip flexors to hip hinge forward, aiming to keep your back level. You MUST not flex or bend the back.
- Rather than trying to reach down to touch the floor, reach your mid-chest to the floor with your hands out in front of you.
- Set the intention for the session, which is TEMPO.
Tempo stretching is dynamic stretching. You MUST move slowly to avoid muscle reflex (tightening of muscles). Moving too fast limits the effectiveness of this stretch. You should also move into the maximum tolerable limit for each rep, aiming to get lower each time.
Tempo is prescribed in 4 phases, each that correspond to seconds:
- 3s – eccentric/lowering
- 2s – pause at the bottom
- 2s – concentric/lifting
- 1s – pause at top
Recommendation: Complete 3 sets of 4 reps. 60 seconds inter set rest.
Yes - Banded Pancake Pull
- Thread a band around a bar at shin height.
- Sit on the floor with your legs straight and in a straddle position. You should be able to reach the band.
- Enter into an ATP, keeping your lower back tensed.
- Although you will be pulling on the band to assist in accessing a greater range of motion, you should still use your hip flexors to hinge forward.
- Keep your back level and reach your mid-chest to the floor. You MUST not flex or bend the back.
- Set the intention for the session.
Intention - Gradually build up tension over the first 20-30 seconds. Aim to increase slowly to the maximum tolerable limit. Breathe deeply and aim to allow the targeted muscle to lengthen, increasing the depth/range of the stretch every 10-15 seconds (if possible) to maintain the ‘maximum tolerable limit’.
Do NOT stretch to such an extent that you feel pain, pinching or discomfort in the joint.
Recommendation: Complete 3 sets of 1 reps. 30 seconds inter set rest.
2. What hip hinge angle are you able to achieve, relative to the floor?
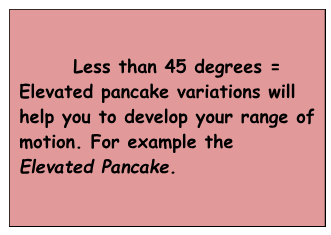 If you lack the range of motion and struggle to hinge forward, you may benefit from elevating the hips to effectively chase the horizontal. The level of elevation can range from sitting on a box, as shown in the image, to sitting on a yoga block. Use the 45-degree rule to continually assess what level of elevation is appropriate for you in each phase of your training block. For example, the Elevated Pancake.
Less than 45 degrees - Elevated Pancake
- Sit in a straddle position on an elevated surface (a box or yoga block, for example). You should be able to sit comfortably, with your legs and back straight and your chest open.
- Enter into an ATP, keeping your lower back tensed.
- Use your hip flexors to hip hinge forward, aiming to keep your back level. You MUST not flex or bend the back.
- Rather than trying to reach down to touch the floor, reach your mid-chest to the floor with your hands out in front of you.
- Set the intention for the session, which is TEMPO.
Tempo stretching is dynamic stretching. You MUST move slowly to avoid muscle reflex (tightening of muscles). Moving too fast limits the effectiveness of this stretch. You should also move into the maximum tolerable limit for each rep, aiming to get lower each time.
Tempo is prescribed in 4 phases, each that correspond to seconds:
- 3s – eccentric/lowering
- 2s – pause at the bottom
- 2s – concentric/lifting
- 1s – pause at top
Recommendation: Complete 3 sets of 4 reps. 60 seconds inter set rest.
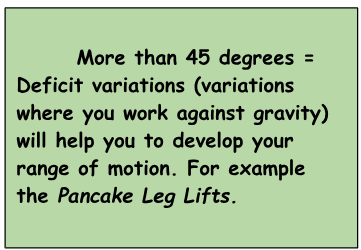
More than 45 degrees - Pancake Lifts
 You will need to complete pancake exercises whilst sitting on the floor and if you’re already pretty flexible then you may even consider progressing the exercise further using bands/weights to increase your range of motion.
Top Tip: If adding load, remember weight should only be used to pull you slightly deeper into the stretch position. Don’t overdo it! If anything, overloading the muscles could inhibit the development of your range of motion. Your muscles won’t allow you to go deeper into the stretch when they feel vulnerable in that position.
Another way of increasing the difficulty is to work in a deficit or against gravity. For example, Pancake Lifts.
- Sit on the floor with your legs straight and in a straddle position.
- Enter into an ATP, keeping your lower back tensed.
- Place your hands on the floor and in front of you to provide balance and stability.
- Sit tall. You MUST not flex or bend the back.
- Contract hip flexors and quads to simultaneously lift both legs off the floor, lengthening the hamstrings.
- Don’t rely on momentum to complete the reps.
- Avoid relying on the core (abdominals/back) to lift and try not to push down on the floor.
- Set the intention for the session.
Intention - An integral part of developing flexibility is the ability to control and display your full range of motion using your own strength.
Recommendations: Complete 2 sets of 6 reps. 30 seconds inter set rest.
Top Tip: If you can’t sit comfortably in a pancake with an open chest, this exercise isn’t appropriate for you.
Now that you have worked on improving your range of motion in the antagonists, it’s important to improve strength in the agonists. Without the inclusion of this component, you will lack stability and strength through the range that you have. Not only could this prevent you from actively executing moves requiring a degree of flexibility, but it could also put you at increased risk of injury.
4. Strengthening / Agonist
HINT: Remember, strength training should be integral to your flexibility work.
With the pancake, the agonist muscles that we need to strengthen are the hip flexors and the gluteus medius, using an exercise such as the Fire Hydrant. Selecting an appropriate strengthening exercise may depend on the length of your hamstrings and if your hamstrings are particularly tight then bent-leg variations of exercises can accommodate for this. However, if this is the case, you may want to complete a block of training to improve your pike first.
When we contract a muscle, we are strongest in the mid-range due to muscle fibre composition. However, when we climb, we often need to be strong right through to the end of our range. By starting with one leg resting on a box as shown below, you can use the box as a fixed starting point or cue. This also helps to slow down the motion, so that we’re working hard at the end range rather than using momentum to cheat. This is more specific, functional and translatable to climbing. You can progress the exercise by setting a higher start/cue point.
Fire Hydrant - Bent Knee
- Rest on your hands on your knees with the option of placing a box/yoga block out to the side.
- Lift one leg and rest it on the box/yoga block (optional), bending the knee at 90 degrees.
- Push down with your arms, to create a stable starting position.
- Engage the glutes to elevate your knee so that it is level with your hips.
- Keep the knee bent at 90 degrees throughout each rep.
- Try not to let the spine rotate, as this means that the muscles of the back are doing the work, not the adductors.
- Be mindful of the position of your foot. This should be level with your knee.
- Set the intention for the session.
Intention - An integral part of developing flexibility is the ability to control and display your full range of motion using your strength.
Recommendation: Complete 2 sets of 6 reps. 30 seconds inter set rest.
Top Tip: To further demonstrate control when completing reps, pause at the end range.
This exercise can be progressed by keeping your elevated leg straight and starting with your foot resting on a box/yoga block and this may be more appropriate if you are not limited or constrained by hamstring length. Another way to progress this exercise is with a Barre Lift - Lateral.
Barre Lift - Lateral
- Stand with one leg lifted laterally (out to the side) and resting on a bar, box or step.
- Lift the leg to its end range, keeping it straight.
- Change the height of the bar to progress or regress the difficulty.
- Set the intention, which is strength development.
Intention - An integral part of developing flexibility is the ability to control and display your full range of motion using your strength.
Recommendation: 2 sets of 6 reps, with 30 seconds Inter Set Rest
It’s important to set yourself goals before embarking on a block of flexibility training. This will help to sustain motivation, as you frequently record and track your progress. For further details on setting goals that tie into your climbing values, read here. Here are some simple ideas to get you started.
Goal Setting and Measuring Progress
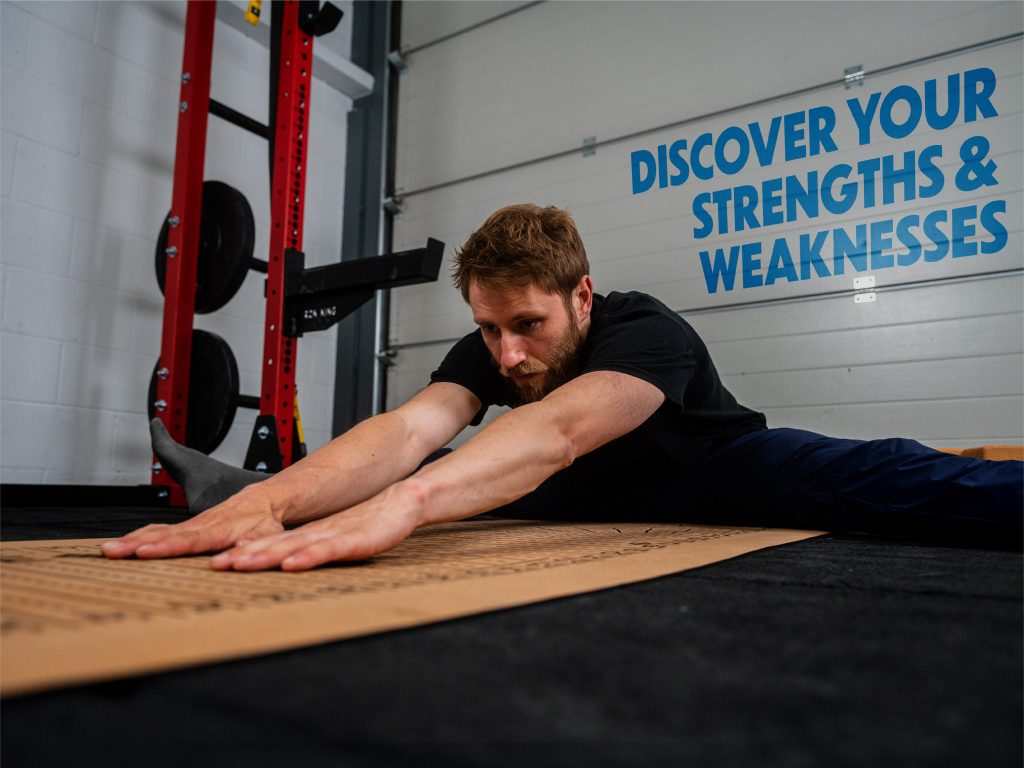
If you have access to a Flex Mat you can easily measure your pancake to help gauge the efficacy of your training and help with decision-making when it comes to progressing or regressing an exercise.
- You can measure the angle of your straddle. If you don’t have access to the Flex Mat, this could also be done with a 360-degree protractor. Take a measurement before starting a block of flexibility training and continue to measure and track your progress every 12 weeks.
- Once you can sit comfortably in the pancake position with an open chest, you can measure progress by trying to touch the floor with your:
- Elbows
- Forearms
- Head
- Chest
- Belly
- Alternatively, when you can comfortably sit in a straddle with an open chest, you can measure the distance that you can reach with your hands during a forward fold. However, you MUST NOT COMPROMISE ON FORM. Don’t bend or flex your back to access greater distance. Maintain an anterior pelvic tilt, keeping your back level and reaching your mid-chest to the floor.
When you feel like you’ve developed a satisfactory level of flexibility in the pancake position, this could be a good time to focus on another aspect of your flexibility profile, such as your side split.
If you've found this article helpful, you may wish to read our other articles in the series:
- Improve your pike
- Improve your pancake
- Improve your side split / middle split
- Improve your front split
Together, all these exercise sessions can be used to improve your lower body flexibility for climbing.
For a more accurate assessment of exactly where you need to start on your flexibility journey, you may be interested in our free My Flex Assessment
Interested in flexibility training plans or learning more? Check out our Flexibility Training Plan or our Flexibility Deep Dive course!
Comments (1)
 A
AAndrew
·
June 29, 2026
It’s incredible that resources like this one are just sitting around online! Thank you so much for this guide :))